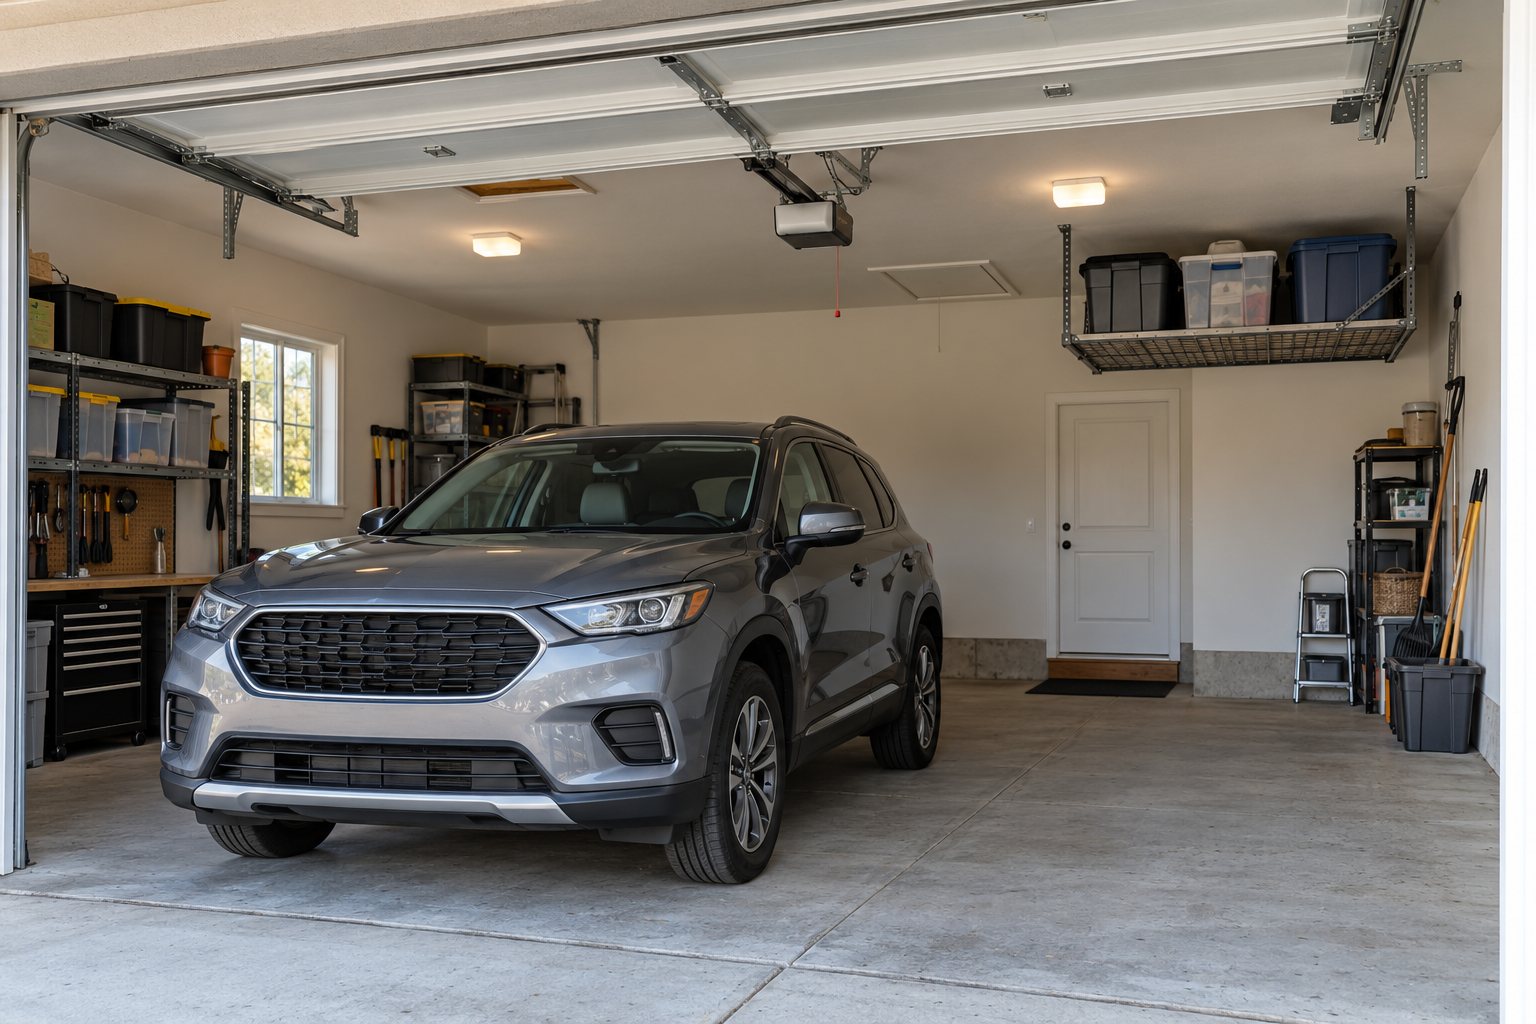
Editorial note. This guide contains no ranked products or merchant links. Generated photographs illustrate planning concepts and are not evidence of a product’s construction, capacity, fit, installation, or performance.
Short answer
Use garage ceiling storage only after the full garage-door movement, opener, lights, attic access, utilities, vehicle, people, and loading method have been given permanent clearance. Mount only into the supporting structure and exactly as the selected system instructs. Treat every capacity as product-specific and condition-specific.
The best overhead location is not always above the vehicle or door. It may be a rear corner, a side strip, or no location at all. A system is useful only when it can be installed into verified framing, loaded within its exact instructions, accessed without an awkward routine, and used without turning ordinary parking into a precision exercise.
1. Map movement
Open the door, park the vehicle, raise the hatch, use the lights, and walk the normal routes.
Empty ceiling area may still be active space.
2. Verify structure
Identify the real supporting framing and confirm it matches the exact system instructions.
Drywall is not the mounting structure.
3. Match the system
Compare the footprint, drop, access method, load conditions, container fit, and installation pattern.
Do not transfer facts between models.
4. Test the routine
Prove that contents can be loaded, retrieved, and returned without blocking or striking anything.
Access is part of fit.
When ceiling storage is a good fit
Ceiling storage is most useful for lightweight, bulky, infrequently accessed items that already have suitable closed containers. Holiday decor, empty coolers, camping textiles, and other seasonal gear may be candidates when their materials, containers, weight, and environment are suitable.
It is a poor fit when the only available zone conflicts with the door or vehicle, the framing cannot be verified, the ceiling contains crowded utilities, the user cannot retrieve items comfortably, or the planned contents are heavy, hazardous, fragile, loose, frequently used, or sensitive to garage temperatures.
| Question | Promising answer | Reason to pause |
|---|---|---|
| Is there a stable zone? | A fixed area remains clear through every normal garage movement | The plan depends on perfect parking or moving another object first |
| Can framing be confirmed? | The exact supporting structure and attachment pattern are known | Only the drywall surface is visible or utilities are uncertain |
| Are the contents suitable? | Lightweight, contained, dry, infrequent, and nonhazardous | Heavy, leaking, fragile, hazardous, or needed often |
| Is access practical? | Retrieval uses a planned, stable method with clear floor space | Access requires leaning over a vehicle or improvising a climb |
Map the overhead exclusion zone first
Start by marking ceiling areas that storage cannot occupy. Include the complete swept space of the sectional door, tracks, springs, opener rail, opener arm, emergency release, wall-mounted operator, and anything else that moves with the system. Keep the door equipment accessible for inspection and service.
Then add the vehicle envelope. Park in the normal position, including ordinary variation between drivers. Check the roof, antenna, roof rack or cargo box, hood, trunk, tailgate, and raised hatch. A rack that clears the parked roof may still conflict with cargo access or a future vehicle.
Finally, exclude lights, outlets, attic hatches, detectors or alarms, sprinklers, HVAC, plumbing, electrical equipment, house doors, stairs, and any area that requires local clearance or service access. Do not invent one universal buffer. Exact equipment instructions, local requirements, and qualified guidance control these zones.
Measure the occupied garage
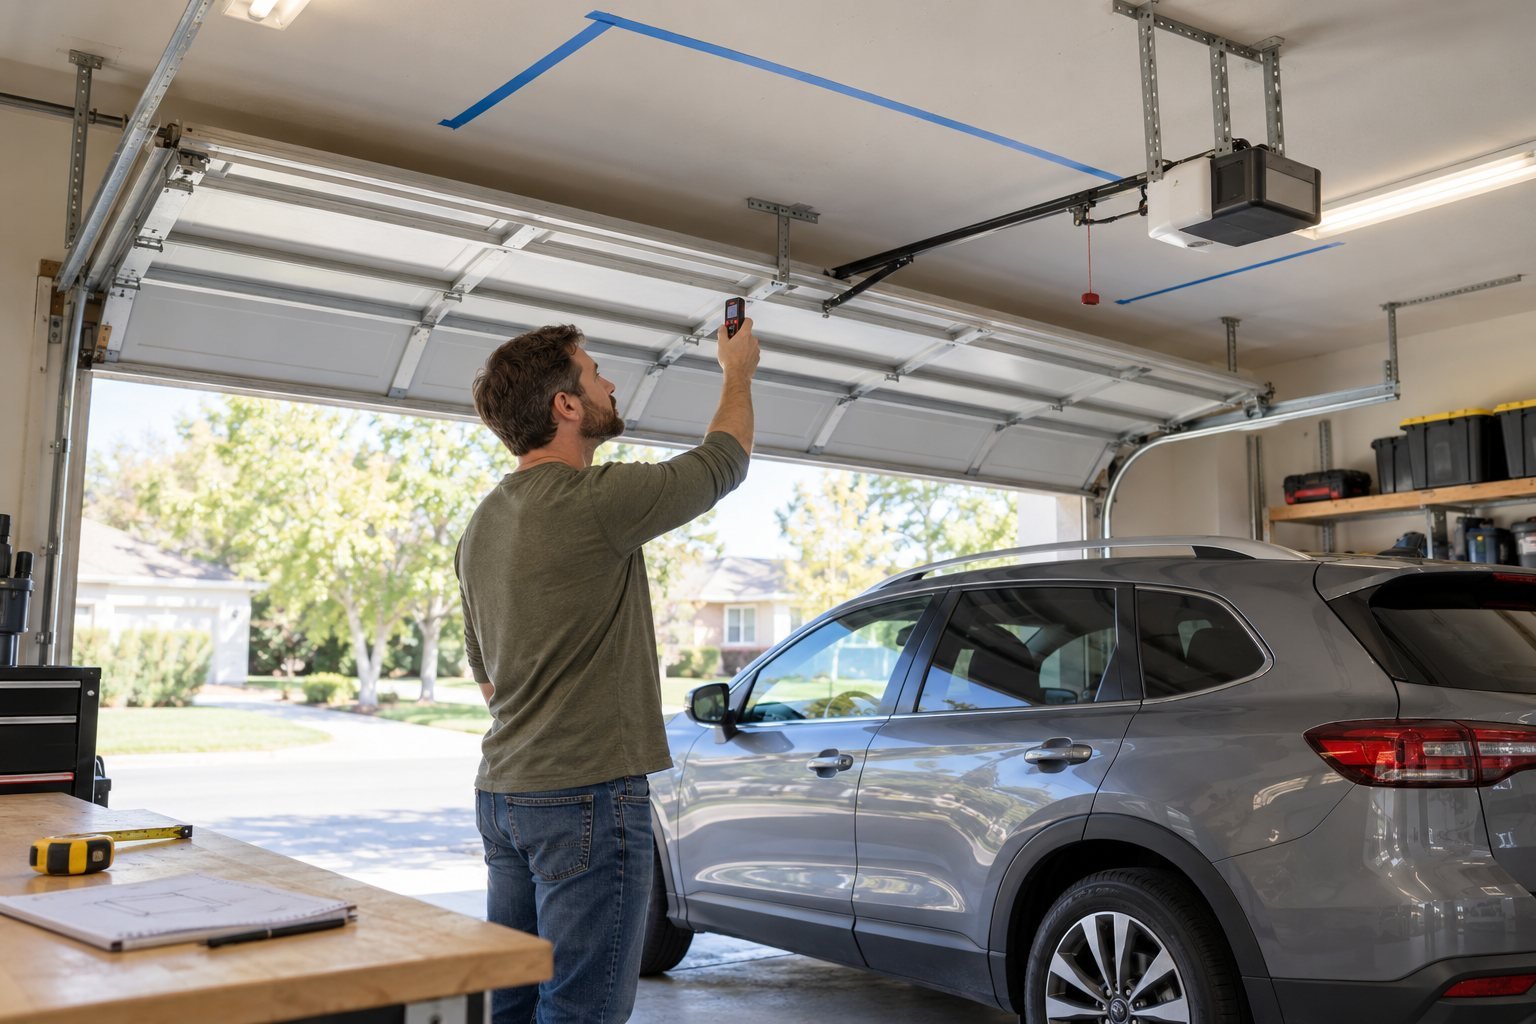
Measure with the garage in its working state, not with the door closed and the vehicle outside. Record the ceiling height and the lowest obstruction, but also record the vertical space available after the door is open, the vehicle is parked, and its hatch or trunk is raised.
| Record | How to test it | What it controls |
|---|---|---|
| Usable ceiling footprint | Measure only after all moving and service zones are marked | Maximum rack width and depth |
| Available vertical drop | Measure from the ceiling finish to the highest protected envelope below | Rack drop plus the full loaded container height |
| Removal path | Model how a bin travels off the rack and down to the floor | Whether contents can be reached without striking the car or door |
| Parking variation | Observe the normal stop position across several days and drivers | Whether the system depends on unrealistic precision |
| Future changes | Consider a taller vehicle, roof accessory, or changed opener | How reversible and adaptable the layout should be |
Use the planning tools: the Garage Zone Map worksheet records the room, vehicle, door, equipment, and routes. For a full parking envelope, use Half Parking Half Storage.
Confirm the mounting structure, not just the ceiling surface
A finished ceiling hides the framing that must carry the system. The exact product manual should state the permitted structure, joist or rafter orientation, bracket layout, fasteners, pilot holes, and any limits on spacing or configuration. Those instructions belong to that model and cannot be copied to a different rack.
Do not treat drywall anchors as a substitute for structural attachment. Do not drill, notch, alter, or reinforce a truss based on a general article. If framing direction, spacing, condition, utilities, fire separation, or the effect of the planned load is uncertain, pause and use a qualified professional who can inspect the actual garage.
Ceiling finish
Drywall or another visible surface may conceal framing, wiring, pipes, ducts, or other conditions.
The surface alone does not prove attachment.
Framing
Joists, rafters, or trusses vary in direction, spacing, construction, condition, and allowed modification.
Identify before choosing the layout.
Product pattern
Bracket positions and fasteners must match both the manual and the verified framing.
One rack’s diagram does not approve another.
Qualified review
Use professional help when structure, utilities, fire separation, or garage-door equipment is uncertain.
Uncertainty is a stop condition.
Compare overhead system types by the routine they create
Do not choose by capacity headline alone. Start with the contents, the usable zone, and how the household will retrieve them.
| System type | Useful for | What must be verified |
|---|---|---|
| Fixed platform rack | Mixed lidded bins and bulky seasonal items | Footprint, adjustable drop, framing pattern, distributed load conditions, and access around the platform |
| Tote rail system | A controlled set of compatible lidded totes | Exact tote lip and dimensions, rail spacing, retention, load rating, and removal path |
| Lift-assisted platform | Contents intended to be lowered for access | Mounting, operating travel, locks, instructions, maintenance, power or manual operation, and load conditions |
| Specialty hook or holder | One defined object such as a ladder or specific seasonal gear | Object compatibility, retention, attachment, clearance, and controlled removal |
A fixed rack is simple only when safe access is simple. A tote rail saves platform space only when the exact container is retained as designed. A lift-assisted system reduces some reaching but adds moving parts and an operating path. Each category solves a different routine.
Read the capacity as a condition, not a promise
Capacity belongs to the exact model, size, configuration, attachment, structure, hardware, and loading method stated by the manufacturer. Similar-looking racks may have different ratings. A retailer summary should be checked against the current manual for the exact model.
Include the weight of every container and its contents when planning the stored load. Follow instructions about distribution, prohibited point loads, multiple connected units, and any other conditions. Never use an article photograph, a user review, or a nearby product listing to infer capacity.
Hardware identity matters too. In 2022, the U.S. Consumer Product Safety Commission announced a recall for certain SafeRacks and Monsterrax overhead racks because defective bolts could allow the rack to fall. That recall does not mean every overhead rack is unsafe. It shows why the exact model, hardware, manual, and current recall status should be checked.
Store the right things overhead
Good overhead candidates are contained, dry, stable, reasonably lightweight, and used infrequently. The container should fit the selected system, close securely, and be labeled where it can be read before removal. Divide dense contents into smaller loads rather than creating one difficult bin.
| Usually better candidates | Usually poor candidates |
|---|---|
| Seasonal decorations in suitable closed bins | Gasoline, propane, paint, solvents, pesticides, or other hazardous household products |
| Light camping textiles or empty gear | Heavy tools, loose metal parts, weights, engines, or dense books |
| Empty coolers, luggage, or bulky lightweight items | Liquids, leaking containers, glass, fragile keepsakes, or food |
| Items used a few times each year | Emergency gear, daily tools, frequently used sports gear, or anything needed while the car is parked |
| Materials approved for the garage environment | Temperature-sensitive electronics, batteries, adhesives, finishes, or materials whose labels require other conditions |
The U.S. Fire Administration advises storing oil, gasoline, paints, propane, and varnishes in a shed away from the home. The U.S. Environmental Protection Agency advises following product labels, keeping hazardous products in original labeled containers, never mixing leftovers, and checking local management or disposal options. An empty overhead zone does not override those instructions.
Plan the retrieval method before installation
Access should be part of the design, not an improvised step after the rack is loaded. The floor position used for retrieval must stay clear, stable, and outside the vehicle or door path. Follow the access equipment manufacturer’s instructions, maintain three points of contact when applicable, and never climb on shelving, bins, a vehicle, or the rack itself.
Test the full sequence with a harmless empty container: approach the zone, position the access equipment, reach the container, remove it from any lip or rail, lower it, and carry it away. Repeat the sequence for returning the container. If the routine requires twisting with a heavy load, leaning over a vehicle, reaching through door equipment, or moving several objects first, choose a more accessible storage location.
Frequency
Items needed monthly may belong on accessible shelving rather than overhead.
Convenience affects whether the system stays organized.
Container size
The bin must pass through the removal path with room for hands and controlled movement.
Platform fit is not removal fit.
Floor position
The access point needs a permanent clear area that does not depend on moving the car.
Plan the feet before the hands.
Household users
The routine must suit the people expected to use it, or another storage type should be chosen.
A system should not require risky improvisation.
Install by the exact manual, then run the full movement test
Before installation, confirm the exact model and every part, compare the current instructions with the planned framing and layout, and check for recalls. Use the specified fasteners and pattern only in the conditions permitted by the manufacturer. Stop if the actual ceiling does not match the assumed layout.
After installation and before loading, inspect the completed assembly as the manufacturer directs. Load only according to the exact instructions. Then repeat every garage movement: open and close the door, park normally, raise the vehicle hatch, turn on and service the lights, use the house route, reach the attic hatch, and retrieve a test container using the planned access method.
| Final test | Pass condition |
|---|---|
| Garage door | Every section and component moves through its full cycle without conflict |
| Vehicle | Normal parking variation, roof accessories, and cargo openings remain clear |
| People | Daily walking and carrying routes remain direct and unobstructed |
| Services | Lights, attic access, utilities, controls, alarms, and required service areas remain available |
| Retrieval | An empty test container can be removed and returned with stable, controlled access |
| Documentation | The exact manual, model, hardware record, and load plan are retained for future checks |
Safety boundaries that do not move
Do not obstruct the garage door, opener, springs, tracks, safety devices, lights, attic access, sprinklers, alarms, electrical equipment, appliances, utilities, exits, or service areas. Do not assume a location is approved because another garage uses it. Local requirements, exact equipment instructions, and actual construction vary.
Use qualified help when the project affects structure, trusses, electricity, plumbing, HVAC, fire separation, sprinklers, or garage-door systems, or when concealed conditions cannot be confirmed. Do not store anything overhead that could create a serious hazard if it leaked, shifted, broke, or fell.
Inspect the system and stored loads as directed by the manufacturer and after any impact, movement, unusual noise, visible deformation, water event, ceiling work, or change in use. Unload the area and seek appropriate guidance if hardware loosens, the rack changes position, framing or ceiling finishes crack, or any condition becomes uncertain.
Choose storage only after the zone survives the test
A completed plan should produce a maximum footprint, maximum loaded height, verified structure, suitable content list, access routine, and shortlist of system categories. It should not produce a product choice based on the largest capacity shown in a search result.
First: reduce inventory
Remove items that do not belong and group the rest by frequency, weight, and risk.
Second: map zones
Protect parking, door movement, walking, activities, utilities, and service access.
Third: compare access
Decide whether overhead storage or ordinary shelving creates the safer routine.
Last: verify the exact model
Check the current manual, dimensions, framing, hardware, rating conditions, recall status, and merchant record.
Merchant links remain inactive until verification.
Common questions
Can I install ceiling storage above a garage door?
Only when the exact door, tracks, opener, structure, rack, stored load, access method, and required service clearances have all been verified together. Do not assume the open-door area is available from a photograph or a generic measurement.
How much clearance does an overhead garage rack need?
There is no universal number. Measure the real door and vehicle in use, then follow the exact rack, garage-door equipment, utility, fire-protection, and local requirements. Include the full loaded container and its removal path.
Can a ceiling rack be mounted into drywall?
Drywall is not the supporting structure for a ceiling storage rack. The exact system must be attached to the permitted framing with the pattern and fasteners stated in its current instructions. Use qualified help when the framing or concealed utilities are uncertain.
What should I store in garage ceiling racks?
Favor suitable closed containers holding lightweight, stable, nonhazardous items used infrequently. Avoid liquids, hazardous products, heavy or fragile objects, loose parts, temperature-sensitive items, and anything needed often or in an emergency.
How do I know how much weight a garage ceiling rack can hold?
Use only the rating and conditions for the exact model, size, configuration, hardware, structure, attachment, and loading method in the current manufacturer instructions. Count the containers and contents, and do not transfer a rating from a similar product.
Is a fixed rack or a lift-assisted rack better?
A fixed rack may suit a clear zone with simple, infrequent access. A lift-assisted system may reduce some reaching but adds moving parts, an operating path, locks, instructions, and maintenance. Choose the routine and exact product that can be verified in the actual garage.
Sources reviewed
GarageClever reviewed current U.S. search results to confirm the planning and comparison intent, then used exact manuals and official government guidance for installation, recall, fire, and hazardous-product boundaries.
- The Home Depot: Garage Storage Buying Guide
- Lowe’s: Best Storage Racks
- Lowe’s hosted overhead storage rack owner manual
- Home Depot hosted SafeRacks assembly instructions
- U.S. CPSC: overhead garage rack recall
- U.S. Fire Administration: Basement and Garage Fire Safety
- U.S. EPA: Household Hazardous Waste