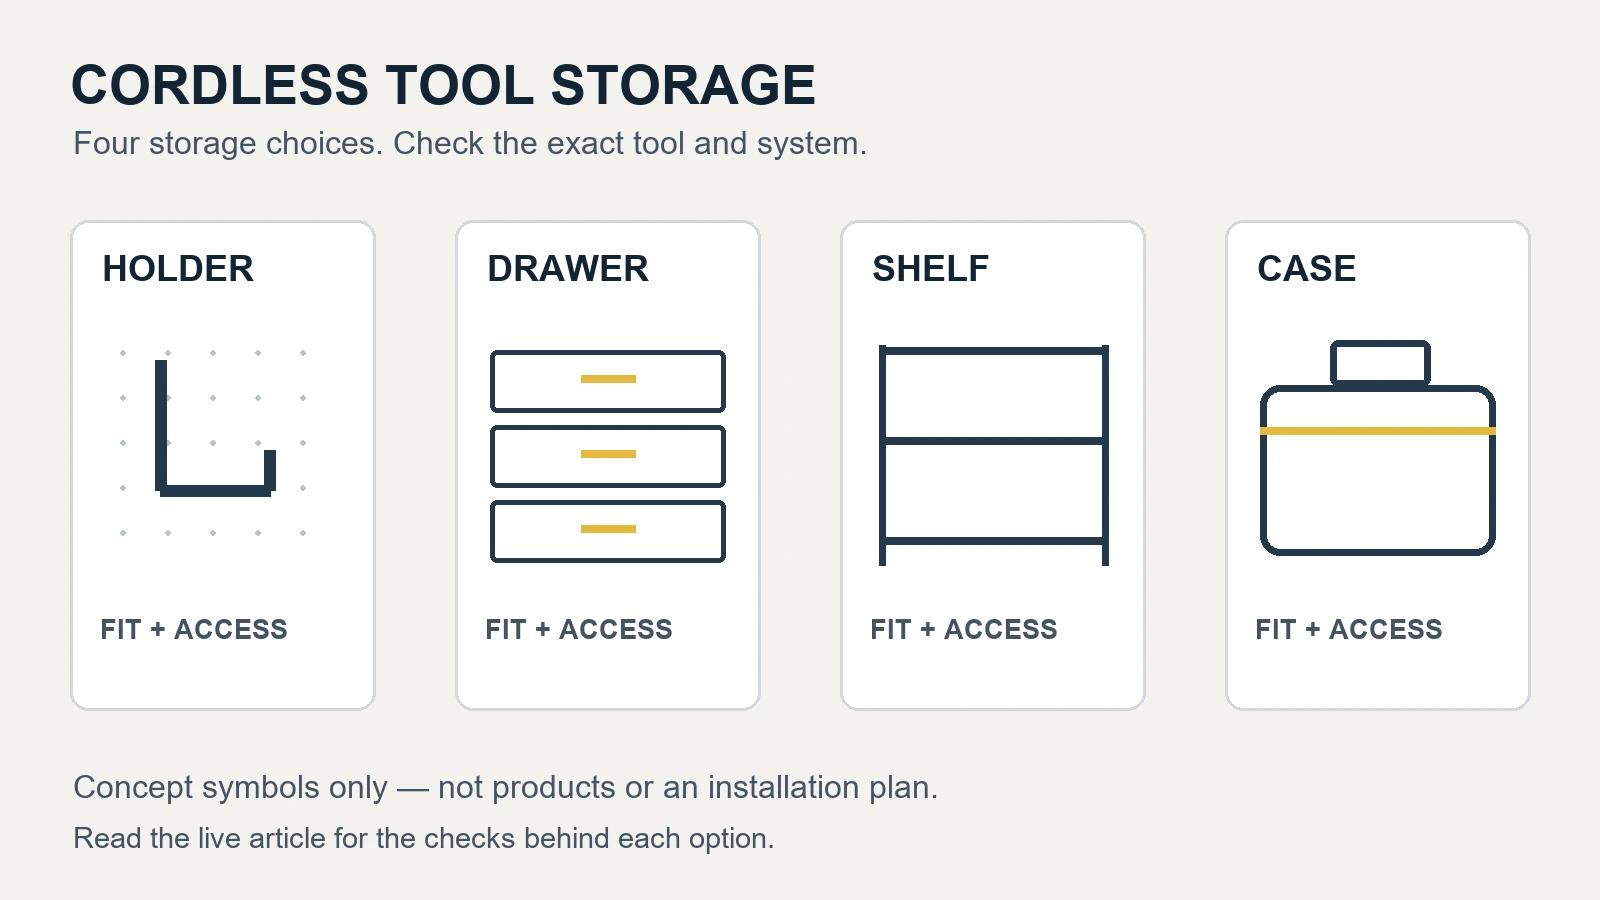
A cordless drill needs a place you can return it to with the rest of a project still on the bench. Start there, rather than with a wall full of matching holders. Plan storage around the tools you own, their actual shapes, and the route between storage and work.
This guide covers organizing tool bodies and ordinary accessories. It does not specify battery storage conditions, charging arrangements, fire protection, or electrical work. Follow the exact tool and battery instructions for those decisions. The manufacturer examples explain compatibility checks. The researched product options later in this guide include ordinary purchase links, not affiliate links or hands-on tested rankings.
Short answer
Give frequently used tools individual, easy-to-reach spaces. Use drawers, shelves, or cases for tools that do not fit a holder cleanly. Keep matching bits and accessories in labeled organizers nearby, and leave a temporary return area for a project in progress. Confirm the exact holder’s tool fit and mounting system before buying.
Use our pegboard vs. slatwall guide to compare the wall system itself. A tool holder and the wall it attaches to are separate decisions.
Make a tool list before choosing a rack
Record the model identifier on each tool, then note its shape, protruding handles, belt clip, and normal storage configuration as permitted by its instructions. Measure that configuration rather than estimating from a photograph. Include the hand space needed to pick it up and the movement required to remove it from a slot.
Sort the list by actual use: regular home repairs, project-specific work, and occasional tools. Keep the drill you reach for routinely closer than a specialty tool you rarely use. If another person shares the garage, ask them to try the proposed positions too. Your preferred reach may not suit theirs.
Leave batteries and chargers as separate entries in the inventory for later, model-specific planning. Do not let a tool rack’s spare shelf decide the charging location.
Try the storage you already have.
Use an existing shelf, drawer, or original case in the tool’s permitted storage configuration. Without operating or charging equipment, rehearse retrieving one tool and its accessories, then returning them. Keep the arrangement if access and the return routine work; otherwise name the remaining fit or retrieval problem before buying an organizer.
Match the storage method to the tool
The following comparison is an editorial planning framework, not a ranking. Mixing methods is reasonable: a holder for the drill, a drawer for accessories, and a case for a seldom-used tool.
| Method | Consider it when | Check before committing |
|---|---|---|
| Individual wall holder | You want a dedicated return position for a regular-use tool. | Exact tool fit, removal direction, projection into the room, and required wall system. |
| Slotted tool station | Several tools will share one location near the bench. | Each tool’s fit; adjacent slots may not suit every combination of handles and clips. |
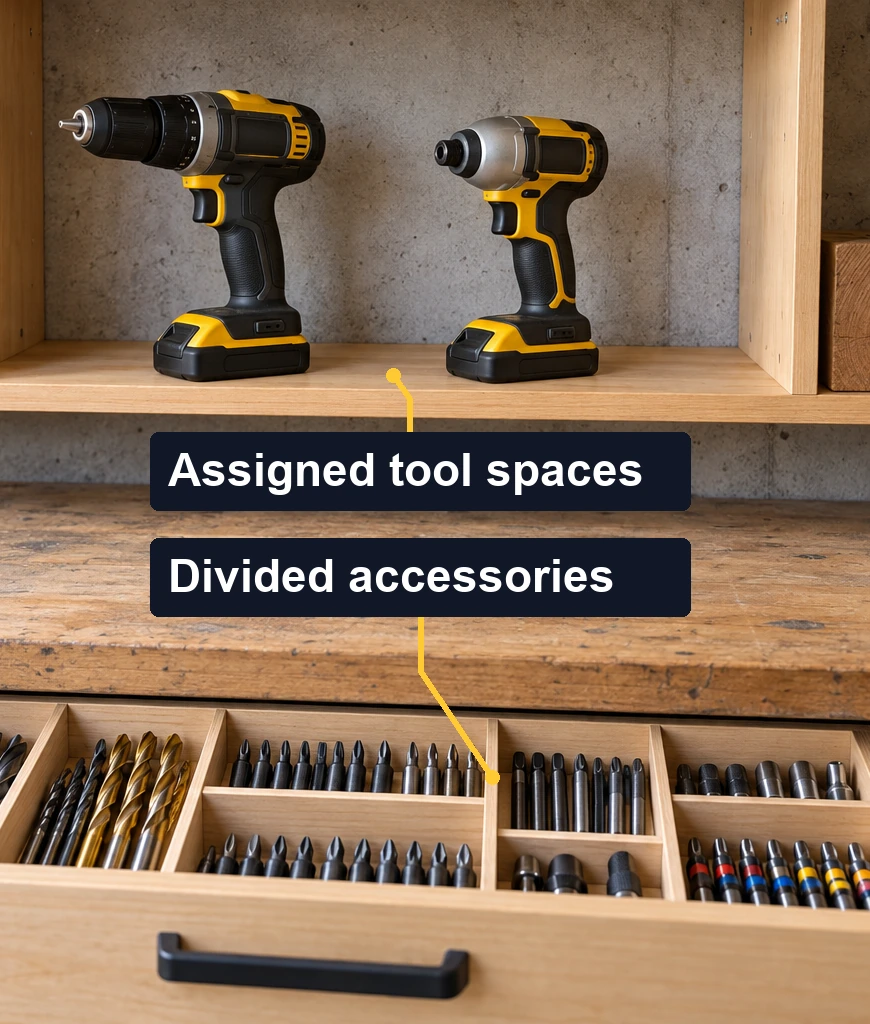
| Drawer with dividers | You prefer contained storage and can give each tool a defined space. | Usable drawer opening, tool height, handle access, and drawer instructions. |
| Shelf with assigned spaces | Tool shapes vary or you want to reuse existing storage. | Usable shelf dimensions, the tool’s permitted resting position, and retrieval space. |
| Original case or fitted box | You carry the tool elsewhere or use it infrequently. | Complete case size, opening space, and the effort needed to retrieve it. |
Read “compatible” at two levels
Check both the tool-to-holder fit and the holder-to-wall-system fit. RYOBI describes its LINK ONE+ Tool Holder, STM817, as fitting most RYOBI ONE+ tools and as compatible with the RYOBI LINK Modular Storage System.Guide [1] “Most” does not establish fit for every tool in the range, much less another brand’s tool.
Milwaukee describes the PACKOUT Tool Station, 48-22-8343, as optimized for drills and impact wrenches, and describes its mounting in combination with PACKOUT Wall Plates.Guide [2] Those statements do not establish universal drill fit or compatibility with unrelated wall panels. Ask the manufacturer about an unresolved model combination before ordering.
Compare the station’s external size with your available space, but also account for the stored tools. Milwaukee lists the station as 10 inches long, 9.5 inches wide, and 14 inches high.Guide [2] The tools and their retrieval movements still need their own space; the empty holder’s dimensions are not a complete layout.
These examples demonstrate what to verify. They are not a completed installation assessment. Check the current instructions for the exact holder and its supporting system; do not infer fasteners, installation spacing, or an assembly’s capacity from a product photograph.
Try the return movement, not just the display
Mark a proposed storage outline on paper before mounting anything. Stand where you normally work and trace the sequence: reach for the tool, bring it to the bench, collect an accessory, and return both. CCOHS advises positioning controls and tools so they can be reached easily without twisting or bending.Guide [4] Apply that reach principle to the tools you use most often.
Check the layout with the vehicle parked normally and cabinet doors open. Keep the proposed rack out of those movements. A tool should not require moving another tool just to reach its handle. Rework positions that make you reach across the bench or remove a neighboring item first.
For a mixed-brand collection, start with the hardest tool to accommodate. Its shape may rule out a shared rack. Assign it a separate space rather than forcing every tool into the same format.
Give small accessories a return address
Label organizers by tasks you recognize, such as drilling wood, driving screws, or furniture assembly. Keep the manufacturer’s identification with specialized accessories so you can check their intended tool and use later. Avoid a single catchall drawer if it makes every project begin with sorting.
Reserve a tray for accessories from the current project, then return them to their labeled spaces during cleanup. For a portable repair kit, make a short packing list and keep it with the case. Review the list after an actual job instead of stocking it with every accessory you own.
Researched product options after your fit checks
After checking your exact tools and supporting wall system, read Cordless Tool Organizers for LINK and PACKOUT Setups for model-specific fit, contents and retrieval checks. Keep charging decisions separate.
Ordinary retailer or manufacturer links, not affiliate links. These are specification-led options, not hands-on tests. Keep suitable existing storage if it already solves the problem.
STM817 and 48-22-8343 images: AI visualizations based on manufacturer references, not photographs or installation proof. Fine details may differ.
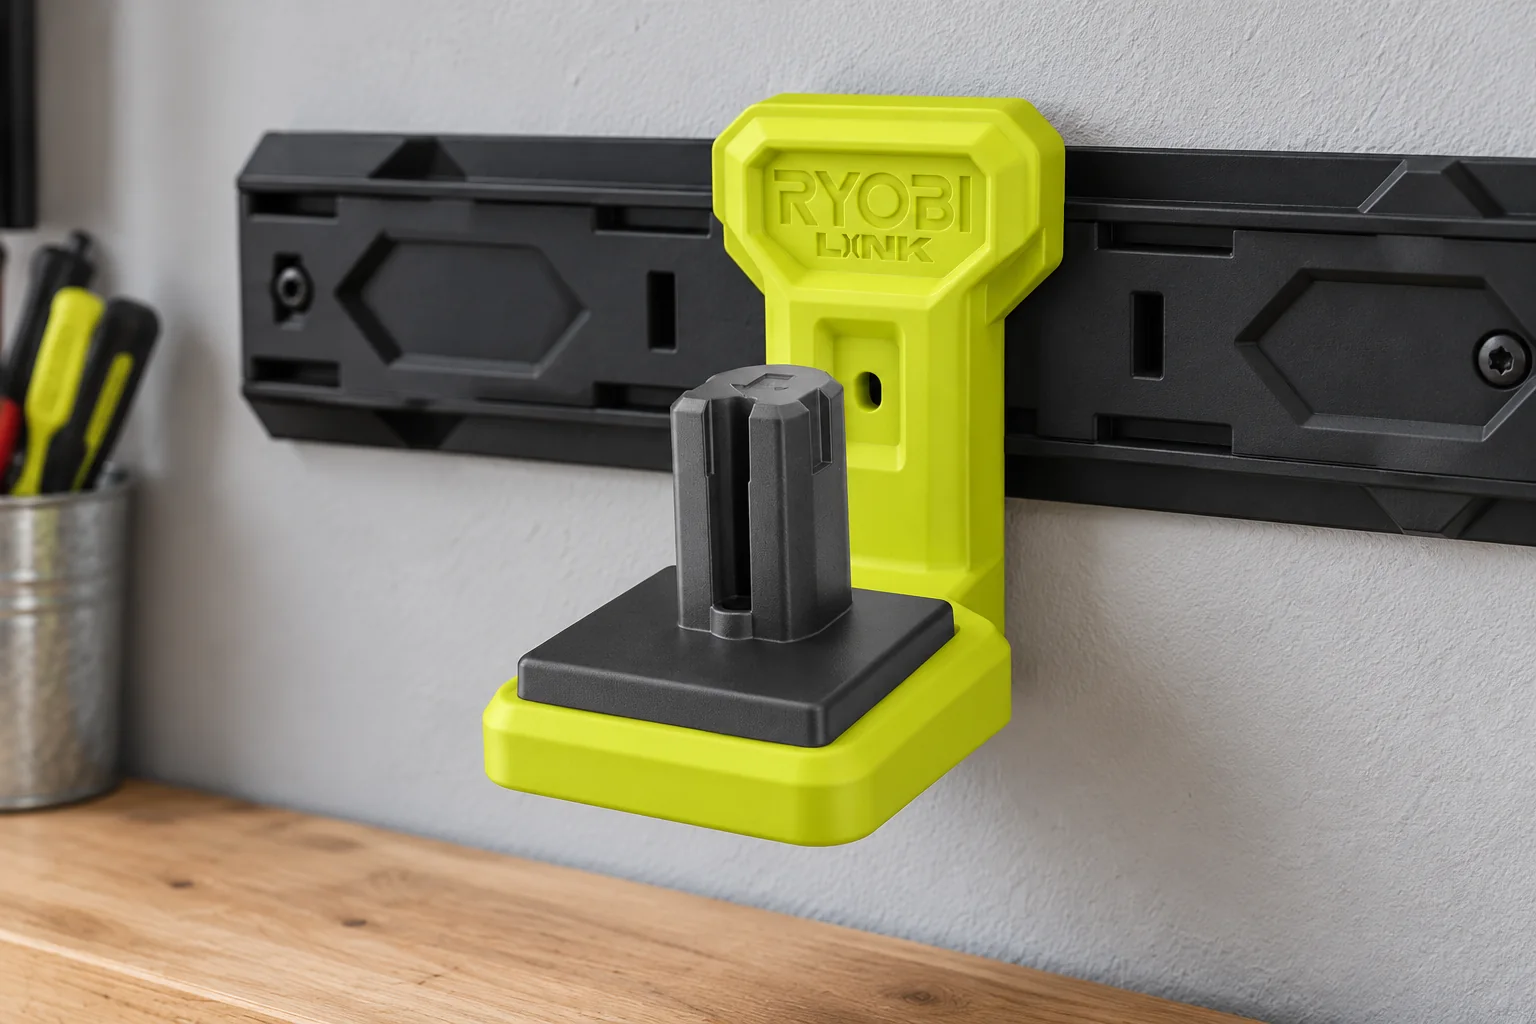
RYOBI LINK ONE+ Tool Holder
Model STM817
Give a compatible ONE+ tool a defined return point, with a rotating stem for different stored orientations.Product [1]
- Most ONE+ tools
- Rotating stem
- LINK compatible
Confirm the exact tool and wall components separately. This retailer listing is Factory Blemished and lists one holder, not a rail kit.Product [1]Product [3]
- Holds most RYOBI ONE+ tools in a dedicated storage spot.Product [1]
- A rotating stem lets you change the tool orientation.Product [1]
- Fits into an existing RYOBI LINK storage setup.Product [1]
- Fit is qualified as most ONE+ tools; check your exact tool before ordering.Product [1]
- The linked Direct Tools listing is Factory Blemished.Product [3]
- Plan for compatible LINK rails; the linked listing includes one holder.Product [1]Product [3]
Product specificationsShowHide
- Exact model
STM817.Product [1]
- Tool compatibility
Most RYOBI ONE+ tools; not an all-tools or mixed-brand guarantee.Product [1]
- Storage-system compatibility
RYOBI LINK modular storage system.Product [1]
- Orientation feature
Rotating stem for multiple tool positions.Product [1]
- Listed contents at this retailer
One RYOBI LINK ONE+ Tool Holder.Product [3]
- Wall components
A rail is not listed in that retailer’s contents. Plan the compatible LINK wall components separately; exact mounting-component selection and installation are not verified by this draft.
- Condition at this retailer
Factory Blemished.Product [3]
- Capacity
No load rating recommended here; an applicable complete official mounting/load instruction set was not verified.
Specification-led research, not hands-on testing. Exact installation and fit remain conditional.
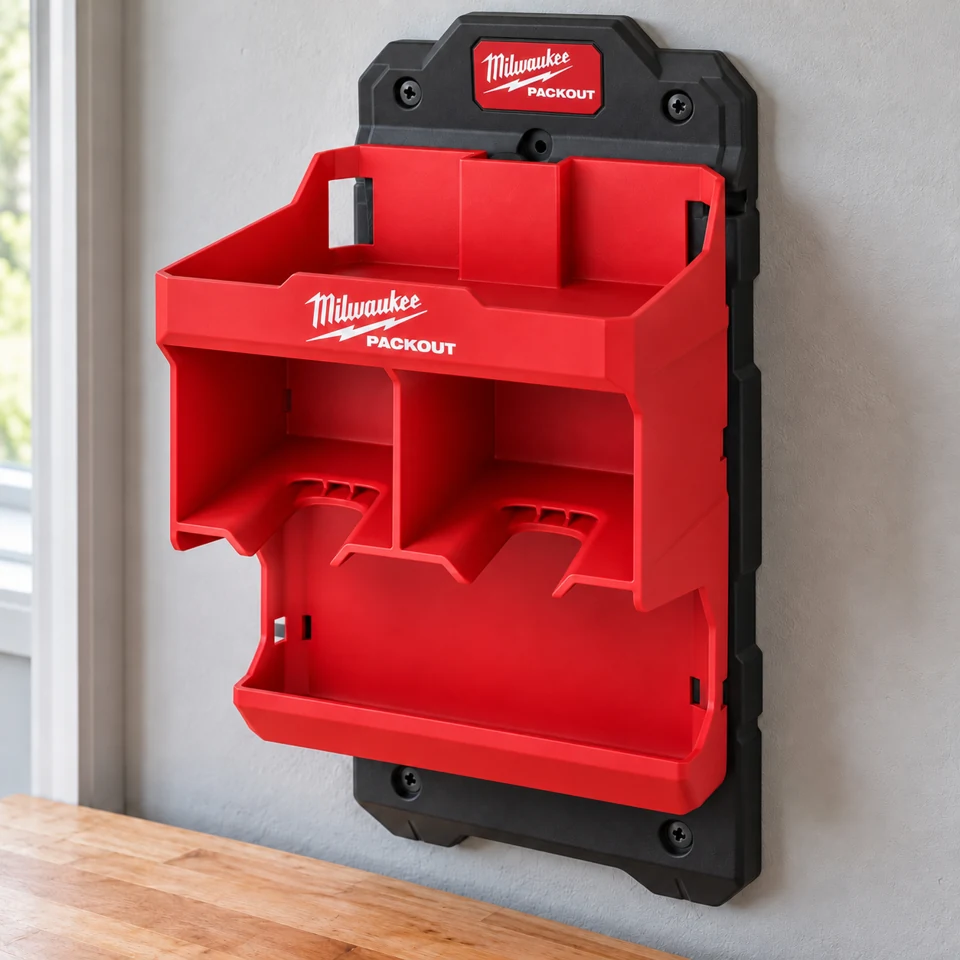
Milwaukee PACKOUT Tool Station
Model 48-22-8343
Group drills or impact wrenches with related accessories using tool slots, a top shelf and a bottom compartment.Product [2]
- Tool slots
- Accessory compartments
- Wall Plate pairing
Check exact tool fit, the removal path and wall-plate arrangement. Plate inclusion is not established. This purchase lead excludes AK, CA and HI; charger storage is not charging approval.Product [2]Product [4]
- Tool slots keep drills and impact wrenches ready to retrieve.Product [2]
- A top shelf and bottom compartment keep chargers and accessories with your tools.Product [2]
- Connects with PACKOUT storage components for a coordinated setup.Product [2]
- An impact-resistant polymer body suits workshop storage.Product [2]
- Tool slots require a fit check for your tool-and-battery combination.Product [2]
- Plan for a compatible PACKOUT Wall Plate; listed contents include one Tool Station.Product [2]
- The linked L&M listing excludes shipping to Alaska, California and Hawaii.Product [4]
Product specificationsShowHide
- Exact model
48-22-8343.Product [2]
- Intended tool categories
Drills, impact wrenches, and more; exact-tool fit remains conditional.Product [2]
- Storage areas
Tool slots, top shelf, bottom compartment.Product [2]
- Station dimensions
L 10 in × W 9.5 in × H 14 in, using the manufacturer’s labels.Product [2]
- Official listed contents
One PACKOUT Tool Station.Product [2]
- Wall components
Milwaukee pairs it with PACKOUT Wall Plates; a plate is not established as included in the listed contents.Product [2] Plan the compatible plate and applicable wall-installation materials separately unless the exact bundle you select explicitly includes them.
- Installation source
Milwaukee’s linked Wall Plate Installation Guide covers drywall, wood-stud, and concrete installation sections.Product [5] Use the complete applicable instructions; this draft does not prescribe anchors, fastening patterns, or a wall load rating.
- Capacity
Omitted; no independently verified applicable load instruction resolving the conflicting entries is asserted.
Specification-led research, not hands-on testing. Exact installation and fit remain conditional.
Sources for the product options
- Product [1]RYOBI: RYOBI LINK ONE+ Tool Holder STM817 — official features
Source scope: RYOBI LINK ONE+ Tool Holder STM817 — official features.
- Product [2]Milwaukee: Milwaukee PACKOUT Tool Station 48-22-8343 — official features and listed contents
Source scope: Milwaukee PACKOUT Tool Station 48-22-8343 — official features and listed contents.
- Product [3]Direct Tools Factory Outlet: Direct Tools Factory Outlet STM817 — Factory Blemished listing and contents
Source scope: Direct Tools Factory Outlet STM817 — Factory Blemished listing and contents.
- Product [4]L&M Fleet Supply: L&M Fleet Supply 48-22-8343 — exact manufacturer model and regional shipping limits
Source scope: L&M Fleet Supply 48-22-8343 — exact manufacturer model and regional shipping limits.
- Product [5]Milwaukee: Milwaukee Wall Plate Installation Guide — wall-system guidance, Reader extraction only
Source scope: Milwaukee Wall Plate Installation Guide — wall-system guidance, Reader extraction only.
Before you commit
If you keep your existing setup: confirm that it fits the stored items, normal access and intended use. If it already solves the problem, stop here; the new-product and installation checks below apply only when you plan a change or purchase.
- List exact tool models and measure their permitted storage configurations.
- Confirm tool fit separately from wall-system compatibility.
- Include hand access and the removal path in the layout.
- Read the exact mounting-system and holder instructions.
- Check parking, cabinet doors, and normal walking routes.
- Assign accessory spaces and a temporary project-return tray.
- Keep battery and charging decisions outside this organizer plan.
Frequently asked questions
Do all cordless tools need to hang on the wall?
No. Choose storage tool by tool. A drawer, shelf, or case is worth considering when a holder’s fit remains uncertain or retrieval would be awkward.
Can one rack hold a mixed-brand collection?
Possibly, but confirm each exact tool. A broad category description is not a model-by-model compatibility list. Keep an alternative space for any unresolved tool.
Should the organizer include a charging shelf?
Do not make that decision from the organizer alone. A shelf’s presence is not evidence that a particular charging arrangement is appropriate. Use the exact battery and charger instructions and obtain qualified advice where needed.
Research-based editorial guidance; no hands-on product testing is claimed. Official webpage evidence supports only the statements cited here, not complete installation or battery-safety clearance. See our methodology.
Sources
- Guide [1]LINK ONE+ Tool Holder STM817
Supports the STM817 example: most ONE+ tools, a rotating stem, and LINK-system compatibility. It does not establish every tool’s fit or complete mounting requirements.
- Guide [2]PACKOUT Tool Station 48-22-8343
Supports the 48-22-8343 tool-storage example, PACKOUT Wall Plate pairing, and listed external dimensions. It does not establish universal tool fit, mounting suitability, included Wall Plates, or a cleared load rating.
- Guide [4]Working in a Standing Position – Basic Information
Supports placing tools within easy reach without twisting or bending. This guidance does not verify the proposed garage installation or prescribe charging arrangements.