Editorial note. This planning guide contains no product recommendations. Exact clearances, load limits, fasteners, and storage conditions depend on the garage, equipment, product instructions, and applicable local requirements.
Short answer
Organize a garage into zones by protecting the space that storage cannot use, grouping belongings by activity, and placing each group according to how often it is used, how heavy it is, and whether it creates a safety concern. Draw the layout before choosing shelves, hooks, bins, or overhead storage. Your garage may need five zones or nine. The number is less important than a clear home for every activity.
If the floor is still crowded, begin with Get Things Off the Floor. You do not need to finish a perfect declutter before mapping, but you do need enough open space to measure the garage, park the vehicle, open its doors, and see the fixed features.
Protect constraints
Reserve the vehicle envelope, garage-door movement, walking paths, entrances, utilities, windows, and equipment access.
Place activities
Assign entry, sports, garden, tools, automotive, overflow, seasonal, waste, and controlled storage inside the space that remains.
Step 1: protect the space storage cannot take
A useful zone plan starts with the empty garage, not with a shelf. Sketch the perimeter and mark every fixed feature: doors, windows, stairs, outlets, switches, lights, the electrical panel, utility equipment, appliances, water sources, and the complete path of the garage door. Note sloped floors, damp corners, low ceilings, and anything else that changes where storage can safely go.
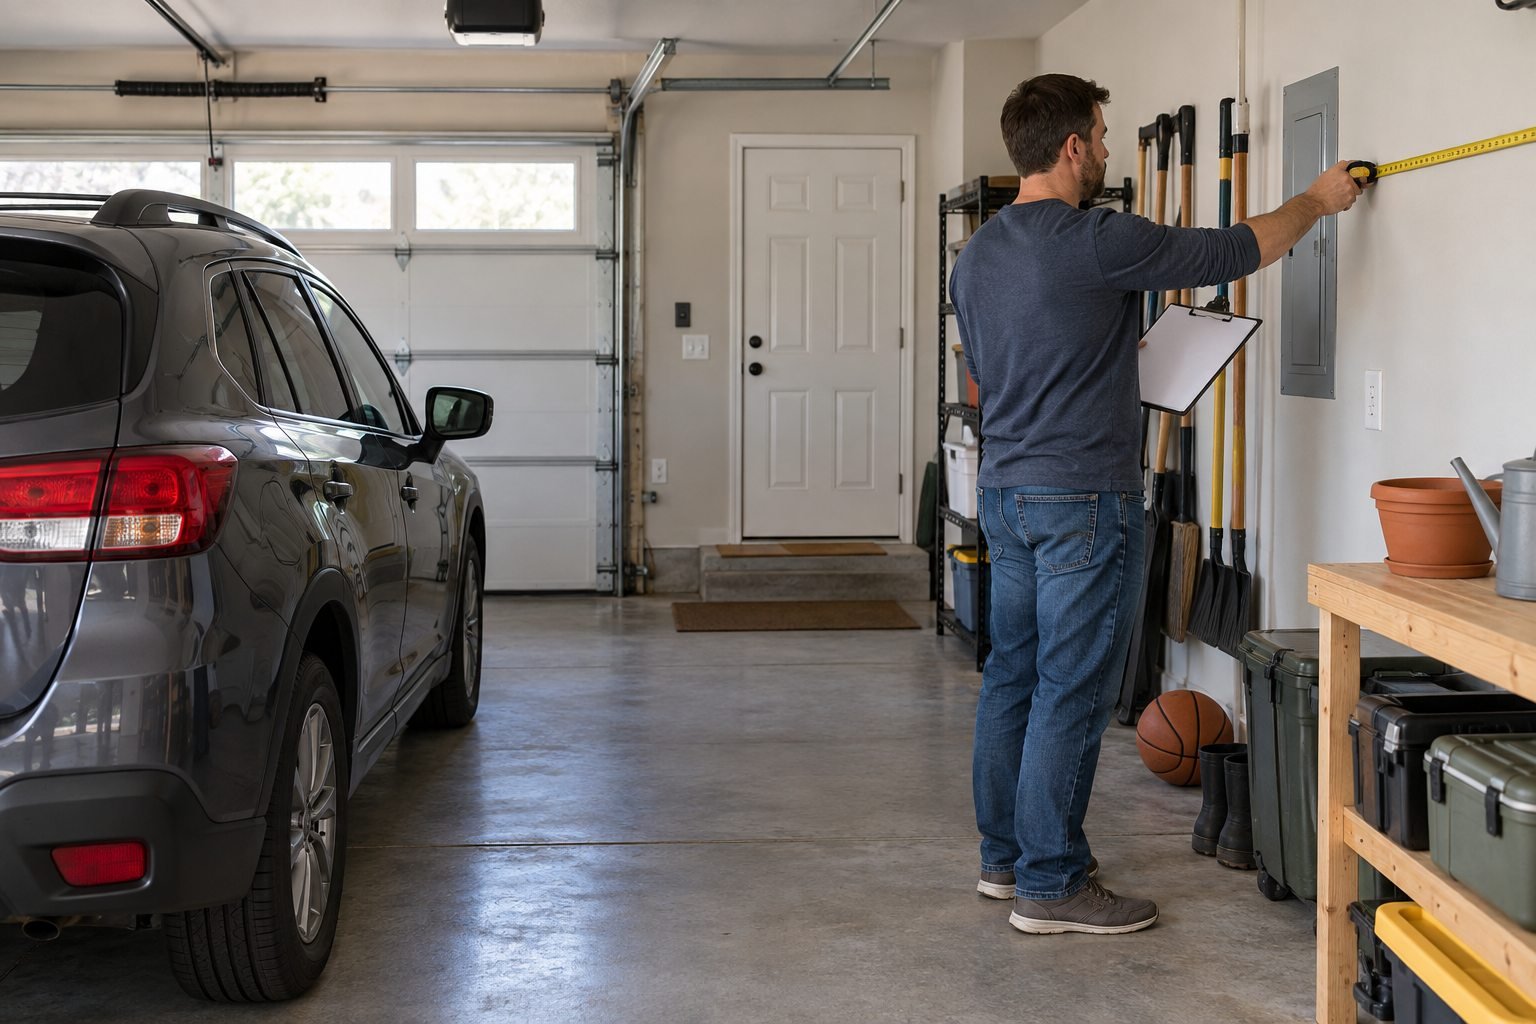
Next, park each vehicle where it normally sits. Mark the bumper position, mirrors, the space needed to open each door, and the hatch or trunk path. Walk the normal route from the vehicle to the house and from the garage to the yard. These vehicle and travel areas are protected space. Storage must fit around them, not slowly take them over.
Vehicle envelope
Include doors, hatch, mirrors, charging or loading needs, and a realistic approach into the garage.
Record it with the actual vehicle parked.
Garage-door system
Mark the door panels, tracks, opener, springs, sensors, controls, and full operating path.
Do not infer clearance from the door position when closed.
People and exits
Preserve the daily route into the house and the route used to carry bikes, bins, tools, or yard equipment outside.
Keep doors and walking paths clear.
Utilities and equipment
Keep required access to panels, appliances, shutoffs, equipment, and service areas.
Use equipment instructions and local requirements for exact clearances.
Do not guess a universal clearance. The correct space around an electrical panel, appliance, charger, water heater, or other equipment can depend on the equipment and local rules. Record the feature now, then verify its exact requirements before placing storage nearby.
Step 2: group belongings by activity
Do not begin by making a zone for every container you already own. Containers often hide unrelated items and preserve old clutter. Instead, group objects by the job they support. A rake, gloves, pruning tools, and a watering attachment belong to the lawn and garden activity even if they currently sit in four different places.
Common activity groups include household entry, bikes and sports, lawn and garden, tools and workshop supplies, automotive care, household overflow, seasonal decorations, waste and recycling, and household hazardous materials. Use only the groups your household needs. Combine small, compatible groups rather than creating tiny zones that are hard to maintain.
Step 3: score frequency, weight, and risk
Once the groups are visible, decide how accessible each one should be. Three questions prevent most placement mistakes.
Daily gear gets the shortest, easiest route. Weekly gear stays accessible. Seasonal gear can move farther away only when access remains safe.
Heavy or awkward objects generally need low, stable storage that is suitable for the load. Light does not automatically mean safe overhead.
Sharp, chemical, flammable, fragile, valuable, or child-sensitive items need separate decisions, controlled access, and label-based storage.
| Access tier | Use pattern | Typical placement | Example |
|---|---|---|---|
| Daily | Most days | Near the relevant entrance and within easy reach | Backpacks, helmets, dog-walking gear |
| Weekly | Regular projects or routines | Accessible wall, shelf, drawer, or mobile storage | Sports gear, garden tools, hand tools |
| Seasonal | A few times per year | Less convenient space that remains suitable and safely reachable | Holiday decor, seasonal recreation gear |
| Controlled | Access only when needed | Appropriate original container or secured storage, separated as required | Pesticides, some automotive fluids, sharp tools |
Step 4: draw the garage zone map
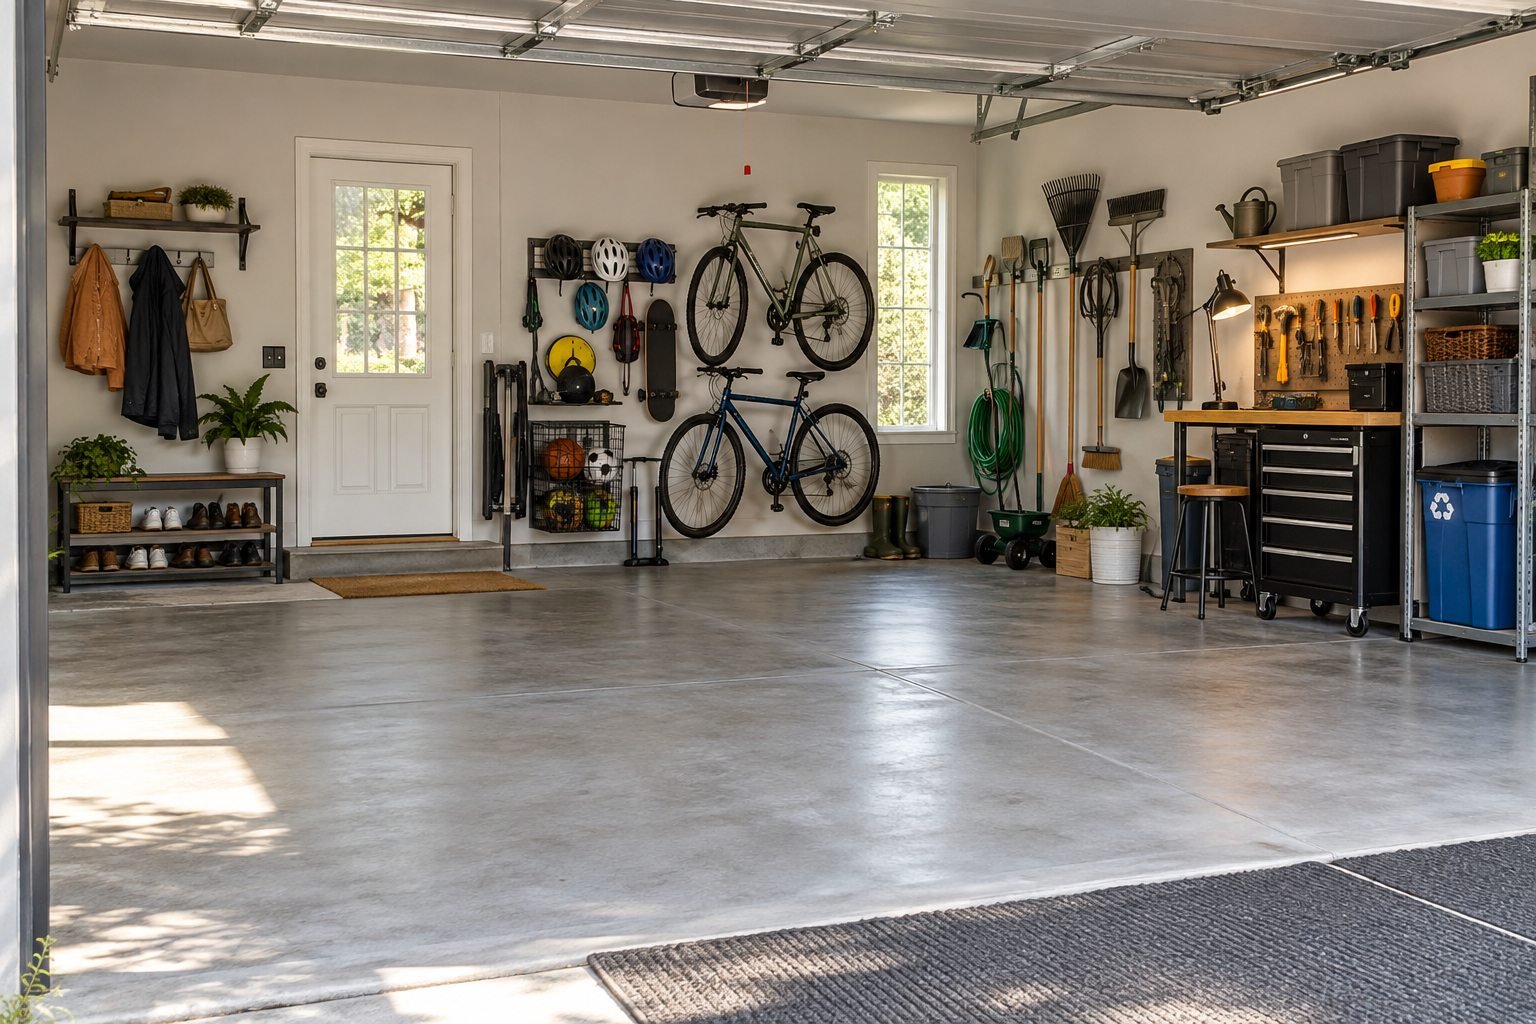
Draw protected space first. Add activity zones only after the vehicle, walking, door, and equipment areas are visible. Place daily groups near the exit they use. Put lawn tools near the yard route, sports equipment near the exterior door, and entry gear near the house door. Keep the workshop close to its work surface rather than scattering tools along every wall.
The diagrams below are examples, not prescribed floor plans. A real plan should reflect your doors, vehicle, wall construction, ceiling, utilities, climate, and household.
One-car garage with full-time parking
Keep the long wall flexible and divide it vertically only after checking reach, weight, wall support, and door clearance.
Two-car family garage
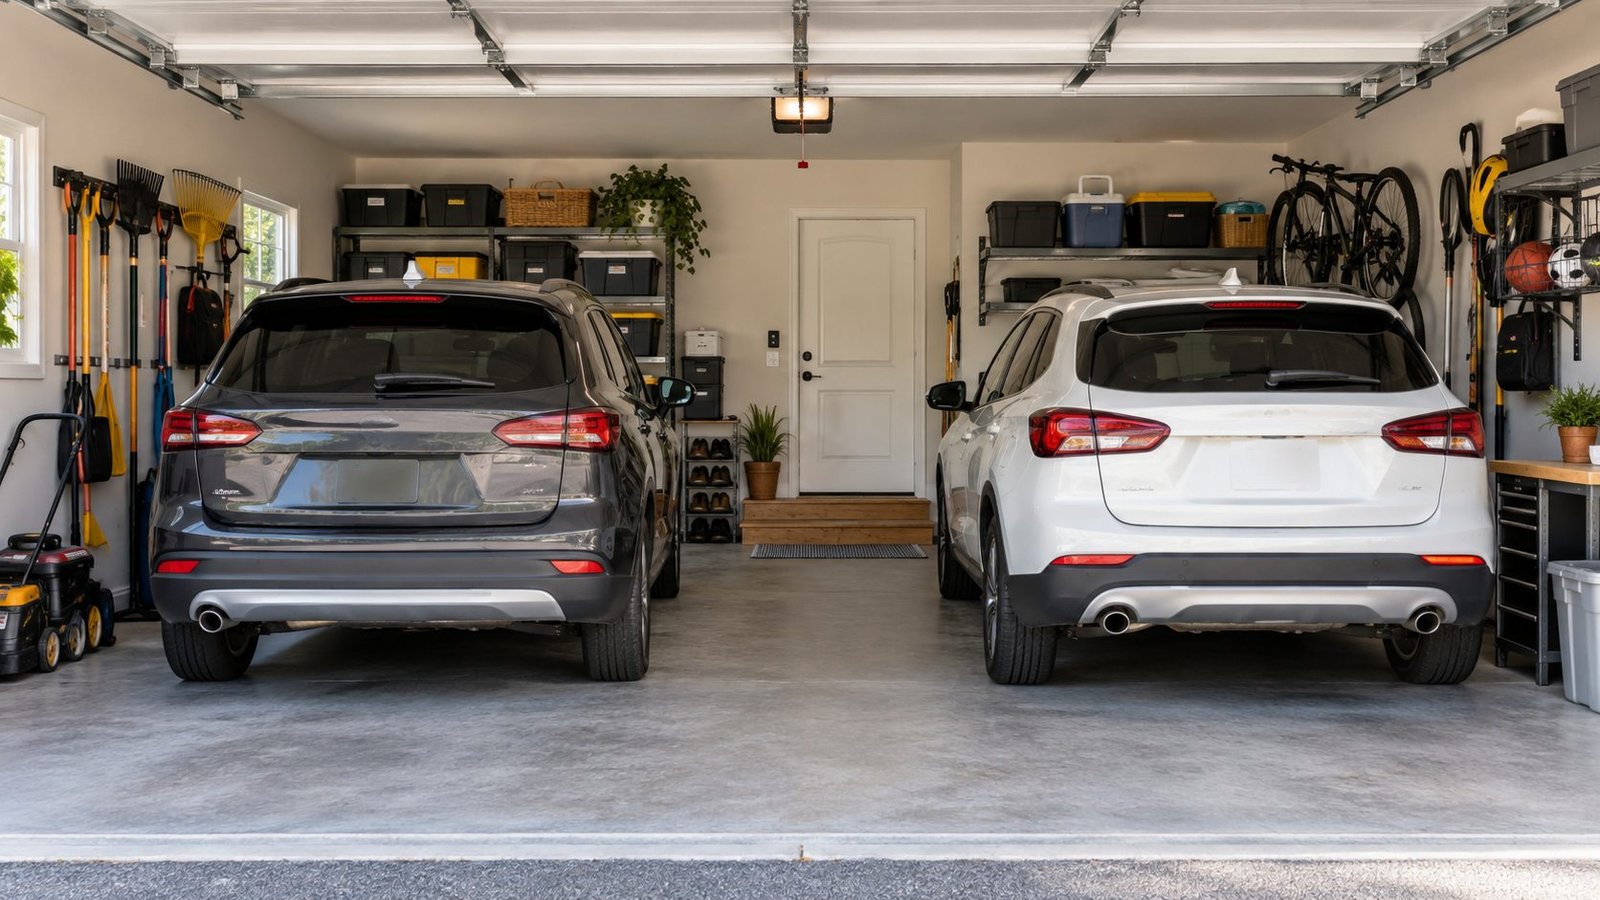
A shared path and separate activity edges reduce the temptation to fill the center aisle with temporary piles.
Make your own Garage Zone Map
The worksheet captures the measurements and decisions that should be known before storage is selected.
Step 5: match each zone to a storage surface
Choose storage only after the map works. A zone may use the floor, wall, shelving, drawers, overhead space, or secured storage. The right surface depends on the object, how it is handled, the supporting structure, moisture, reach, and the exact product instructions.
| Zone | Good general location | Storage direction | Avoid |
|---|---|---|---|
| Entry and drop | Near the house entry | Small landing area, suitable hooks, shallow shelf | Blocking the door or walkway |
| Bikes and sports | Near the exit used for the activity | Suitable floor, wall, or rack storage | Tangled gear in the vehicle path |
| Lawn and garden | Near the yard-facing route | Contained supplies and suitable vertical tool storage | Sharp tools within child reach |
| Tools and workshop | Near the work surface | Drawers, shelves, wall organization, mobile storage | Spreading one workflow across the garage |
| Household overflow | Dry perimeter space | Labeled containers on suitable shelving | Open-ended miscellaneous piles |
| Seasonal | Less convenient but suitable space | Clearly labeled, weight-appropriate storage | Heavy or fragile objects overhead |
| Waste and recycling | Convenient collection route | Separate, cleanable containers | Heat sources and travel paths |
| Controlled materials | Only where labels and official guidance allow | Original containers and secured or separated storage | Food, child access, ignition, and mixed chemicals |
Floor storage: reserve it for objects that genuinely need it, such as a suitable mobile cart or heavy item on stable support. Keep the protected paths visible.
Wall storage: useful for frequently used tools and gear when the wall, fasteners, system, item shape, and rated load all match. Do not treat a product photo as proof of compatibility.
Shelving: useful for visible categories and containers. Measure the usable shelf opening and full bin, including the lid and handles. Follow per-shelf and total-unit ratings.
Overhead storage: consider only for suitable, lighter, infrequently used items after verifying the structure, product, installation, garage-door clearance, vehicle clearance, and a safe way to reach it. The full decision belongs in the Ceiling Storage guide.
Secured storage: a locked cabinet does not make every product safe to store in a garage. Follow the original label and official guidance, and separate materials that should not share a space.
Step 6: label and set a reset rule
Name zones by activity or item family, not by vague container labels. “Bike repair” is more useful than “garage box.” Give every group one return location, and keep the label visible from the normal approach. If a zone repeatedly overflows, either the zone is too small, its contents are too broad, or the household no longer uses the plan as drawn.
Use a short reset rhythm that matches the household. Return daily gear after use, clear work surfaces at the end of a project, and check seasonal zones when their contents rotate. Redraw the map when the vehicle, hobbies, family access, or stored materials change.
Four layouts to adapt
One car, full-time parking
Protect the car and door-opening envelope. Use perimeter walls for a few combined activity zones, with daily items nearest the relevant exit.
Best discipline: do not let temporary piles occupy the passenger side.
Two-car family garage
Give each edge a job and protect a shared path to the house. Split daily sports and entry gear from seasonal or household overflow.
Best discipline: keep the center path free.
Half parking, half storage
Treat the unused bay as planned space, not permission to fill the floor. Keep the parked vehicle envelope intact and divide the storage bay by activity.
See Half Parking, Half Storage for the detailed layout.
Renter or no-drill setup
Use suitable freestanding or mobile storage where wall modification is not allowed. Confirm stability, anchoring requirements, lease rules, loads, and clearances.
Do not assume “freestanding” means tip-resistant.
Safety checks before you finalize the map
Treat safety as part of the layout, not as a note added after storage is purchased. Keep doors, walking routes, vehicle movement, garage-door equipment, panels, appliances, and service access unobstructed. Follow the instructions and rated limits for every shelf, rack, fastener, hook, cabinet, and wall or ceiling system. Anchor suitable freestanding storage when its instructions or conditions require it.
The U.S. Fire Administration advises keeping items that can burn away from appliances and storing oils, gasoline, paints, propane, and varnishes in a shed away from the home. It also advises plugging only one charging appliance directly into an outlet and not using an extension cord for charging. Your garage map should therefore treat fuels, finishes, propane, and charging as separate safety decisions, not ordinary overflow storage.
The U.S. Environmental Protection Agency advises keeping household hazardous products in their original labeled containers, never mixing them, and checking with the local environmental, health, or solid-waste agency for management options. EPA also provides separate pesticide storage guidance, including keeping pesticides away from children and pets and away from food, feed, and medical supplies.
If children use the garage, controlled access matters. The U.S. Consumer Product Safety Commission recommends safety latches and locks for cabinets and anchoring furniture such as shelves and bookcases to reduce tip-over risks. Apply the exact product instructions and the actual wall or floor conditions.
Scope boundary: this guide does not provide structural, electrical, gas, HVAC, fire-separation, garage-door, or hazardous-material installation instructions. Use qualified guidance when the zone plan affects those systems.
Choose storage only after the zones work
A finished map should tell you what type of decision comes next. It should not force a purchase. Measure the chosen zone again, document the supporting surface, list the object dimensions and weight, and note every clearance that still needs verification.
Shelving
Compare shelf dimensions, usable openings, loading, moisture, stability, and bin fit.
Read the Garage Shelving Buying Guide.
Containers
Choose sizes and labels around the shelf and activity, not around a sale bundle.
Read the Garage Storage Bins Guide.
Wall organization
Compare system compatibility, flexibility, installation, object shape, and rated load.
Read Pegboard vs Slatwall.
Special zones
Evaluate bikes, overhead storage, tools, and divided parking layouts in their dedicated guides.
Use one canonical guide for each decision.
Common questions
How many zones should a garage have?
There is no universal number. Use enough zones to give distinct household activities a clear home without creating tiny categories that are difficult to maintain. A compact garage may combine sports and outdoor gear, while a larger garage may separate them.
Where should seasonal items go?
Seasonal items can use less convenient space when the location is dry and suitable, the load is supported, access is safe, and the items do not create a hazard. Heavy, fragile, chemical, or heat-sensitive items need their own placement decision.
What should not be stored overhead?
Do not place an item overhead merely because it is seasonal. Avoid objects that are too heavy or awkward to lift safely, fragile items that could fall, leaking materials, or anything prohibited by its label or the storage-system instructions.
How do I organize a garage and still park a car?
Park the actual car first, record its doors, hatch, mirrors, and approach, and protect that envelope on the map. Then build storage around the perimeter and keep the daily path to the house clear.
Where should hazardous products be stored?
Follow each original label and current official guidance. Do not assume a garage cabinet is automatically appropriate. Keep products in original containers, do not mix them, secure access, separate incompatible materials, and follow local disposal guidance.
How do I keep garage zones organized?
Give every group one labeled return location, keep the zone sized for its real contents, and use a short reset after activities or projects. If one zone keeps overflowing, revise its category or reduce what it contains.
Sources reviewed
GarageClever used current planning guidance to confirm the common clear, measure, group, map, and store sequence, then used primary government sources for safety boundaries.
- Lowe’s: Garage Storage and Organization Ideas
- This Old House: Create Your Own Garage Storage Plan
- The Home Depot: Garage Storage Buying Guide
- U.S. Fire Administration: Basement and Garage Fire Safety
- U.S. EPA: Household Hazardous Waste
- U.S. EPA: Storing Pesticides Safely
- U.S. CPSC: Childproofing Your Home